
What is the Line Coding?
– Add a command color at the required point on the black drive line to reach the destination.
– Since the robot runs autonomously, it can be used for road traffic safety training, etc.
1. How to use the Unplugged Line Coding
(1) Switch ON without pressing the robot’s shell button.
(The state that the head light changes to rainbow color continuously)
(2) Wait until you hear a beep.
(3) Click once on the shell button of the robot.
(4) The head light changes to cyan with a melody sound to enter the line coding.
(5) Paint the desired color with 8 color marker on the paper with black line.
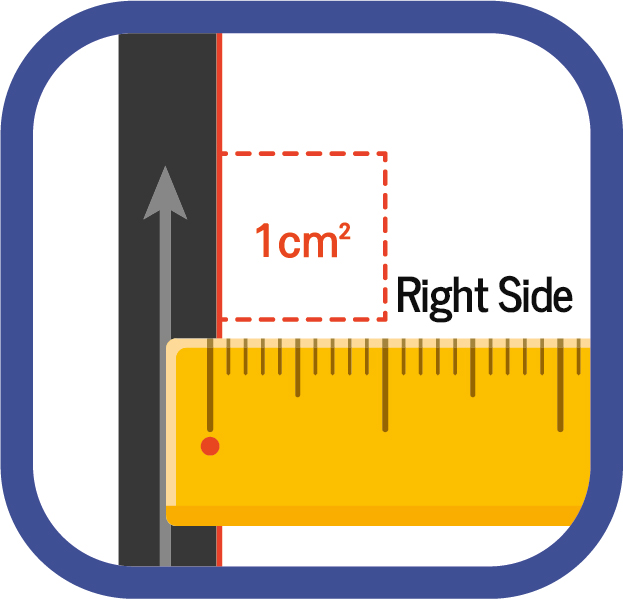
※ When painting the black line, you should paint it on the right side based on the direction of the head of the PockeTurtle.
(6) Place the PockeTurtle robot on the right side of the black line and click the shell button, the head light will turn off and start moving along the line.

2. Driving rules (Line-Tracing)
– The PockeTurtle moves along the right border of the black line.
– The thickness of the black line must be at least 5 mm and maintain a constant line width.
– In areas with narrow line widths, it could leave the line.
– When it meets a spot that has been colored, perform the command according to the color.
3. Colors for Driving Commands
| Colors | Driving Commands |
|---|---|
| GREEN | GO STRAIGHT |
| BLUE | TURN RIGHT |
| YELLOW | TURN LEFT |
| PURPLE | U-TURN |
| RED | STOP / GOAL |
| BLUEGREEN | JUMP to the line parallel to the direction of movement drawn on the right. |
| ORANGE | JUMP to the line parallel to the direction of movement drawn on the left. |
4. How to Draw Color Command
– Because the PockeTurtle moves along the right border of the black line, it must be painted to the right of the direction it is traveling.
– The black line corresponds to the centerline of the road.
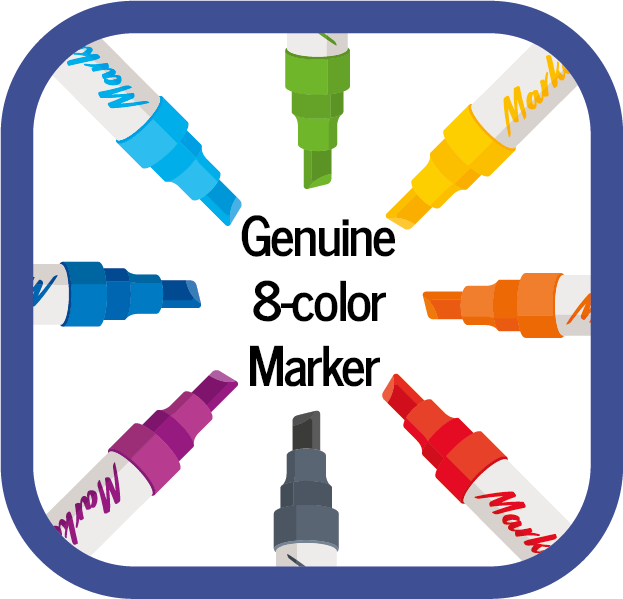
– Paint area should be about 1 × 1 ㎠. Draw a square in advance and fill it inside, or use a genuine 8-color marker with a square tip.
– It may not be recognized well depending on the pen type and color.
– Crayons should not be used because foreign matter gets in or slips on the wheels or bearings.
– If you are coloring with a pen instead of a dedicated pen, we recommend that you close the black line border.

5.1 Line Coding Example 1: On a Straight Road

– The PockeTurtle moves along the right border of the black line. When you meet the end of the black line, it breaks off the line.
– If you paint on a straight line, GREEN will just pass through.
– BLUE and YELLOW are not used. Use it to get off the road.
– PURPLE will continue straight along the road after 180 degrees on the spot. (U-turn.)
– RED is a stop (destination arrives).

5.2 Line Coding Example 2: On Intersection
– To start again, place the robot on the black line and click the button.
– GREEN means a straight signal at the intersection. That is, go straight across the intersection. But at T-junctions, it leaves the road.

– BLUE means to a right turn signal at an intersection. That is, drive along the road on the right. Follow the road to the right without having to paint, but use it for correct movement.
– Yellow means a left turn signal at an intersection.
5.3 Line coding example 3: On the Parallel Straight Lines
– Orange jumps on a parallel to the direction of movement drawn to the left of the robot’s direction of movement and continues to move.
– BLUEGREEN jumps on a line parallel to the direction of movement drawn to the right of the robot’s direction of movement and continues to move.

Starting point of the robot: left side of the lowest straight line
Robot Direction: Right
5.4 Notes on Line Coding
– If the prints is wrinkled or the table is not flat, line-tracing may fail.
– Make sure the prints are flat against the floor on a flat table.
– You can specify up to two left and right commands on a straight road and up to four on an intersection. The T-shaped intersection can have different commands depending on the three directions of entry.
(Left entrance : U-Turn)
Starting point of the robot: left side of the lowest straight line
Robot Direction: Right